
This is the first bit of digging, we did a lot of research into which type of raised garden bed would be
best for us (since our back yard is a hill) and decided on the concrete
blocks. They never rot (like wood) or fall apart (like the new raised
bed bags), and there is no waiting for them to compost (like with straw
bales) The first step here was to dig out the sod in the shape and size
we wanted the garden beds to be.
 |
| The first bed has been completely dug out by my husband (more like hacked in this red clay) and I have started laying the concrete cinder blocks. |
 |
| This is another view, but zoomed in. |
 |
| This shows the first bed complete and the second bed dug out. |
 |
| Another view of the first bed, our goal of ceasing runoff from the garden (because we were setting this up on a hill) worked.. a little too well. After two days of rain the first bed flooded and our dog took full advantage of having a personal pool. |
 |
| Almost done now! I'm laying the last of the blocks in this photo. |
 |
| This is a view from the bottom of the hill of the completed beds. (Before adding soil) |
 |
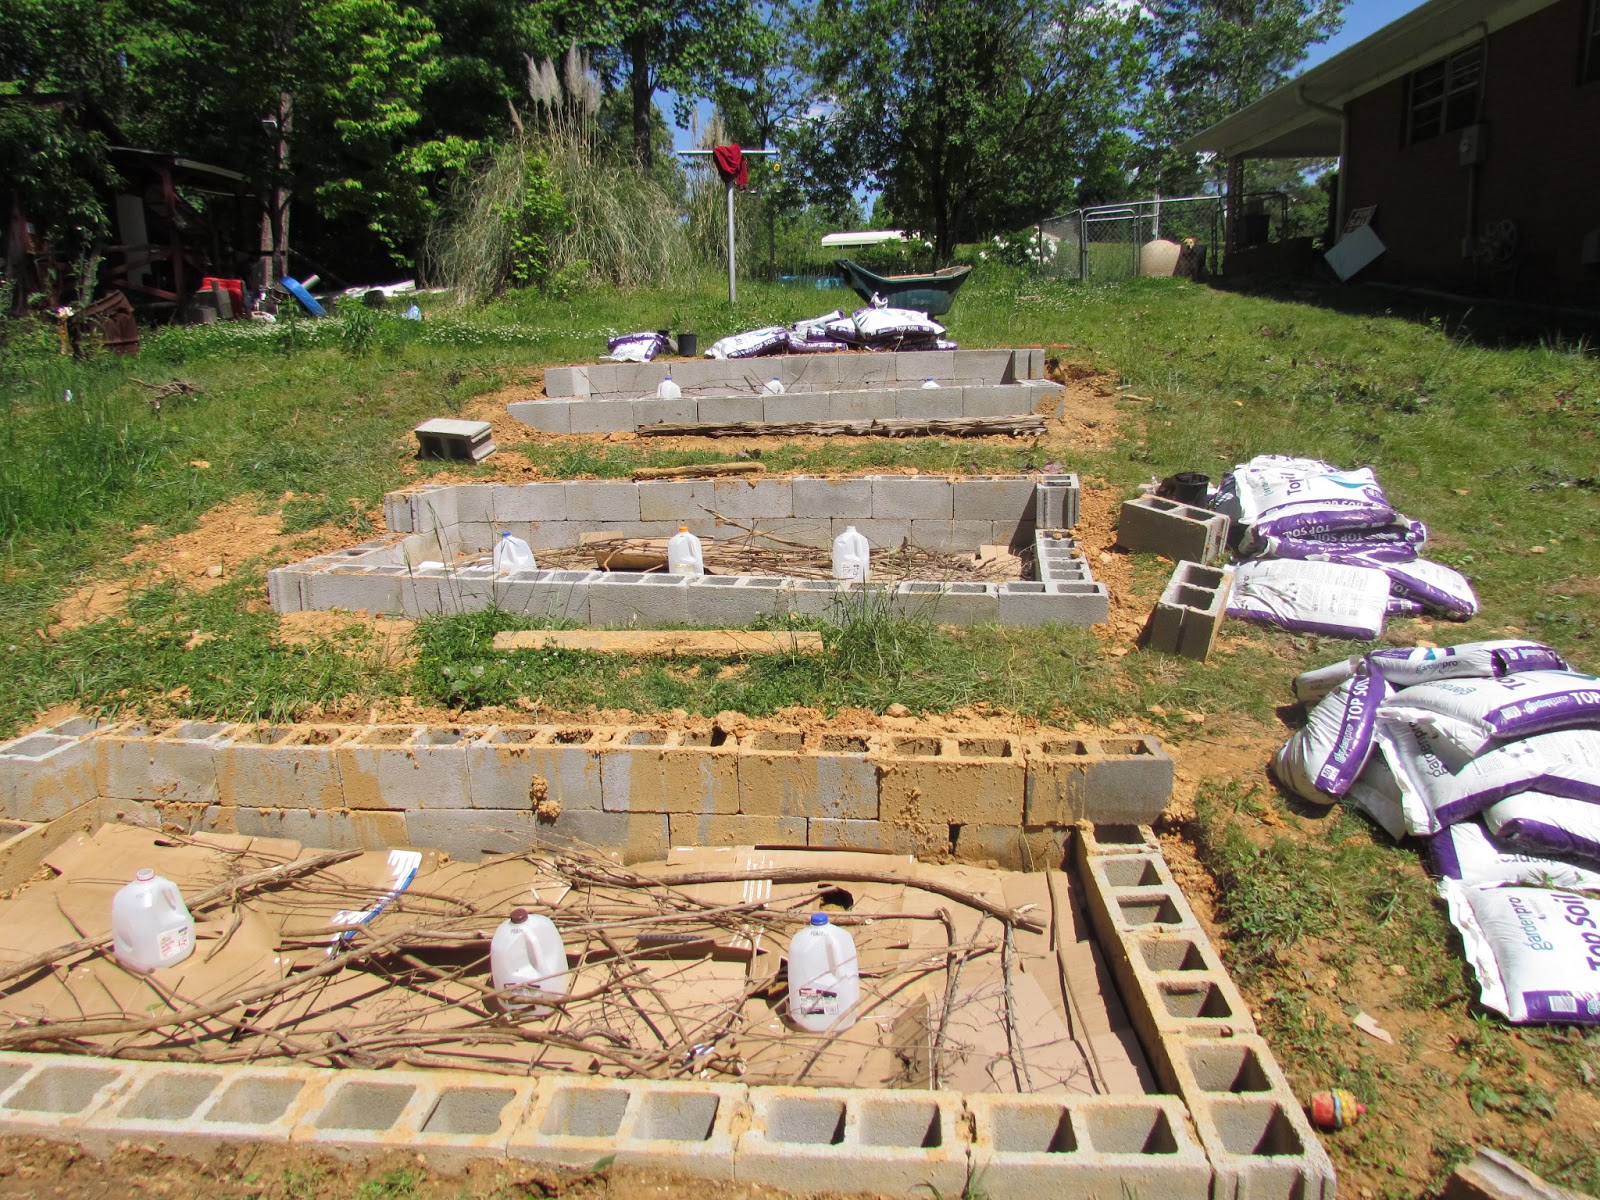
| I wanted to explain a little bit about this photo. The cardboard acts as landscaping paper preventing weeds from entering the raised bed. The twigs and small branches give the roots of the plants a place to attach and retain moisture for the plants. The milk containers act as "hola's". Hola's are typically made from terra cotta and are vases with a lid. The vases have many small holes in them. The purpose of the hola is a self watering system. If you bury the hola you can fill it up and the soil will only take the amount of water it needs. Then you can simply check the hola's daily or weekly (depending on what you plant). Make sure you add soil to the top of the highest hole. With the gallon jugs I simply drilled holes on the sides, and I will replace them in two or three years. |
 |
| Onto the filling. The bottom layer is top soil (I know that sounds upside down) the lightest gray color. We filled the bed with general top soil only to act as a filler. The dark gray is potting soil and the black is compost. I mixed the potting soil and compost together with a rake before planting. Overall it took eighty bags of soil to fill these beds! |
 |
| The soil is mixed and the seeds have been planted. I did a lot of research about companion planting and gardening by the square foot. If you have a raised bed and want to go chemical free this is the best way to go. Some plants offer free nourishment or pesticide properties simply by being planted next to their companion plant. Also, I live in the country where random bunnies and moles like to hop through our yard, cutting and old garden hose and laying the pieces around will fool the small animals into thinking it is a snake and they will leave your plants alone! |
 |
| These photos have been taken a week after I planted the seeds. |
 |
| The brown leaves fell from the trees in our back yard. |


 |
| A Lima bean sprouting! |


 | ||
| The baby pool is our dog's when we filled her personal pool with dirt we had to find a replacement. The blue bin in the back sits at our compost pile (or hole rather). |
Because this is a blog page, and not a post I will continue to add pictures as the garden progresses! Thank you for checking out our hard work and I hope we are an inspiration for you! Feel free to leave comments! -The Winters

No comments :
Post a Comment